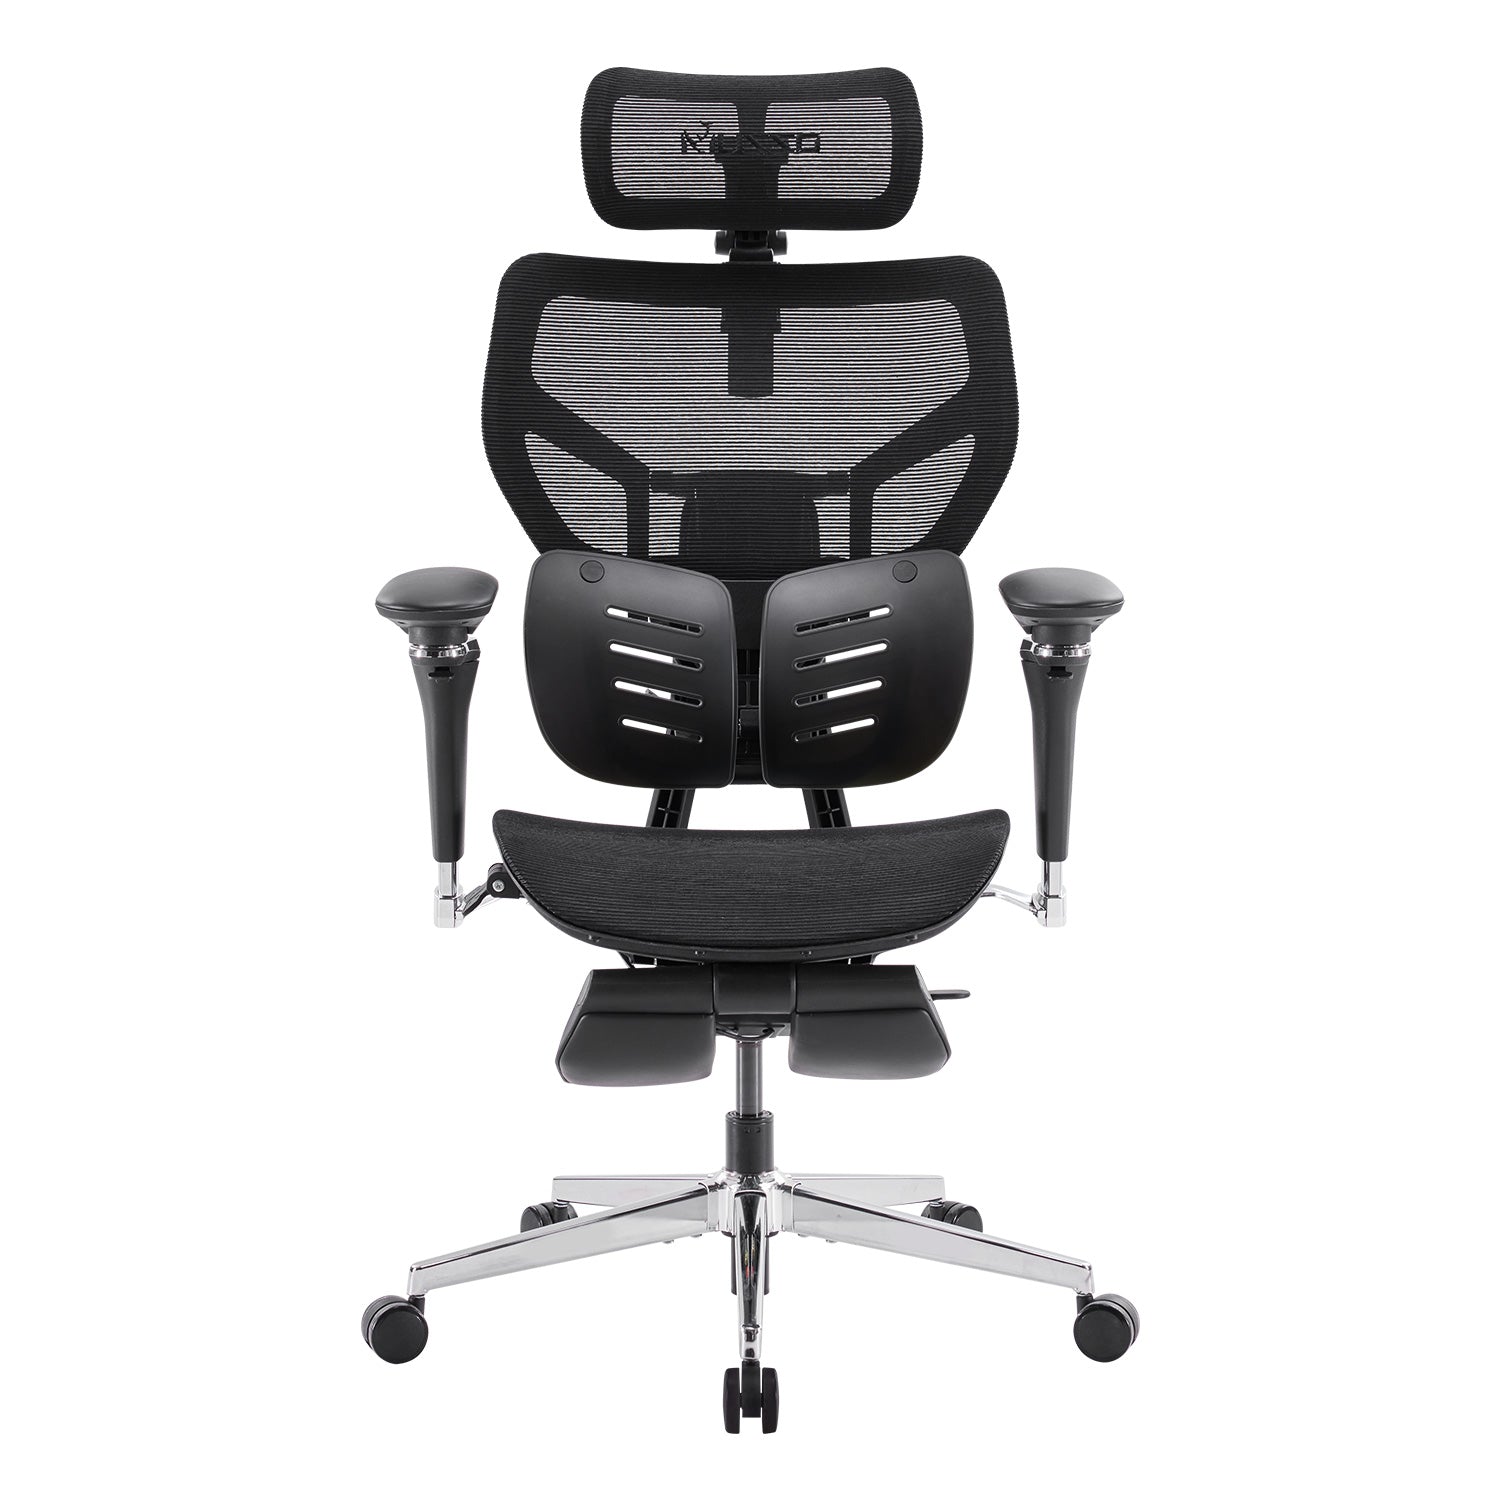
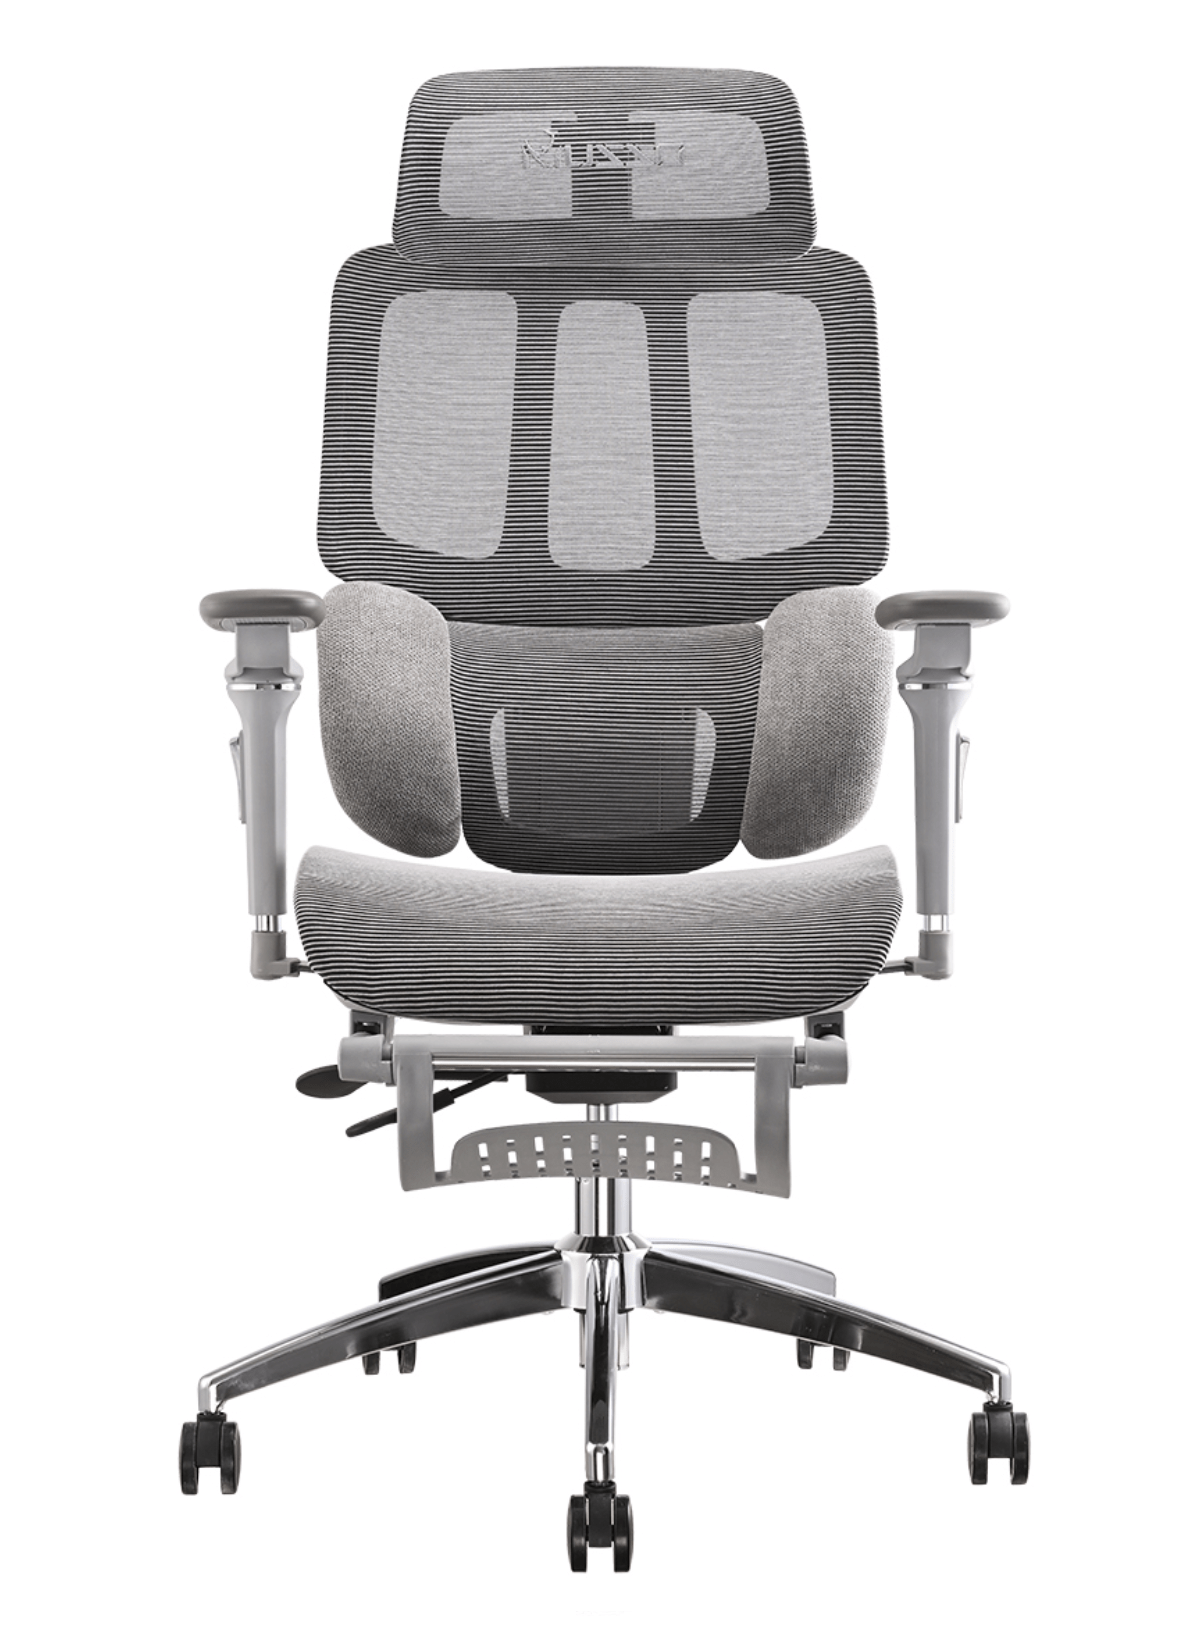
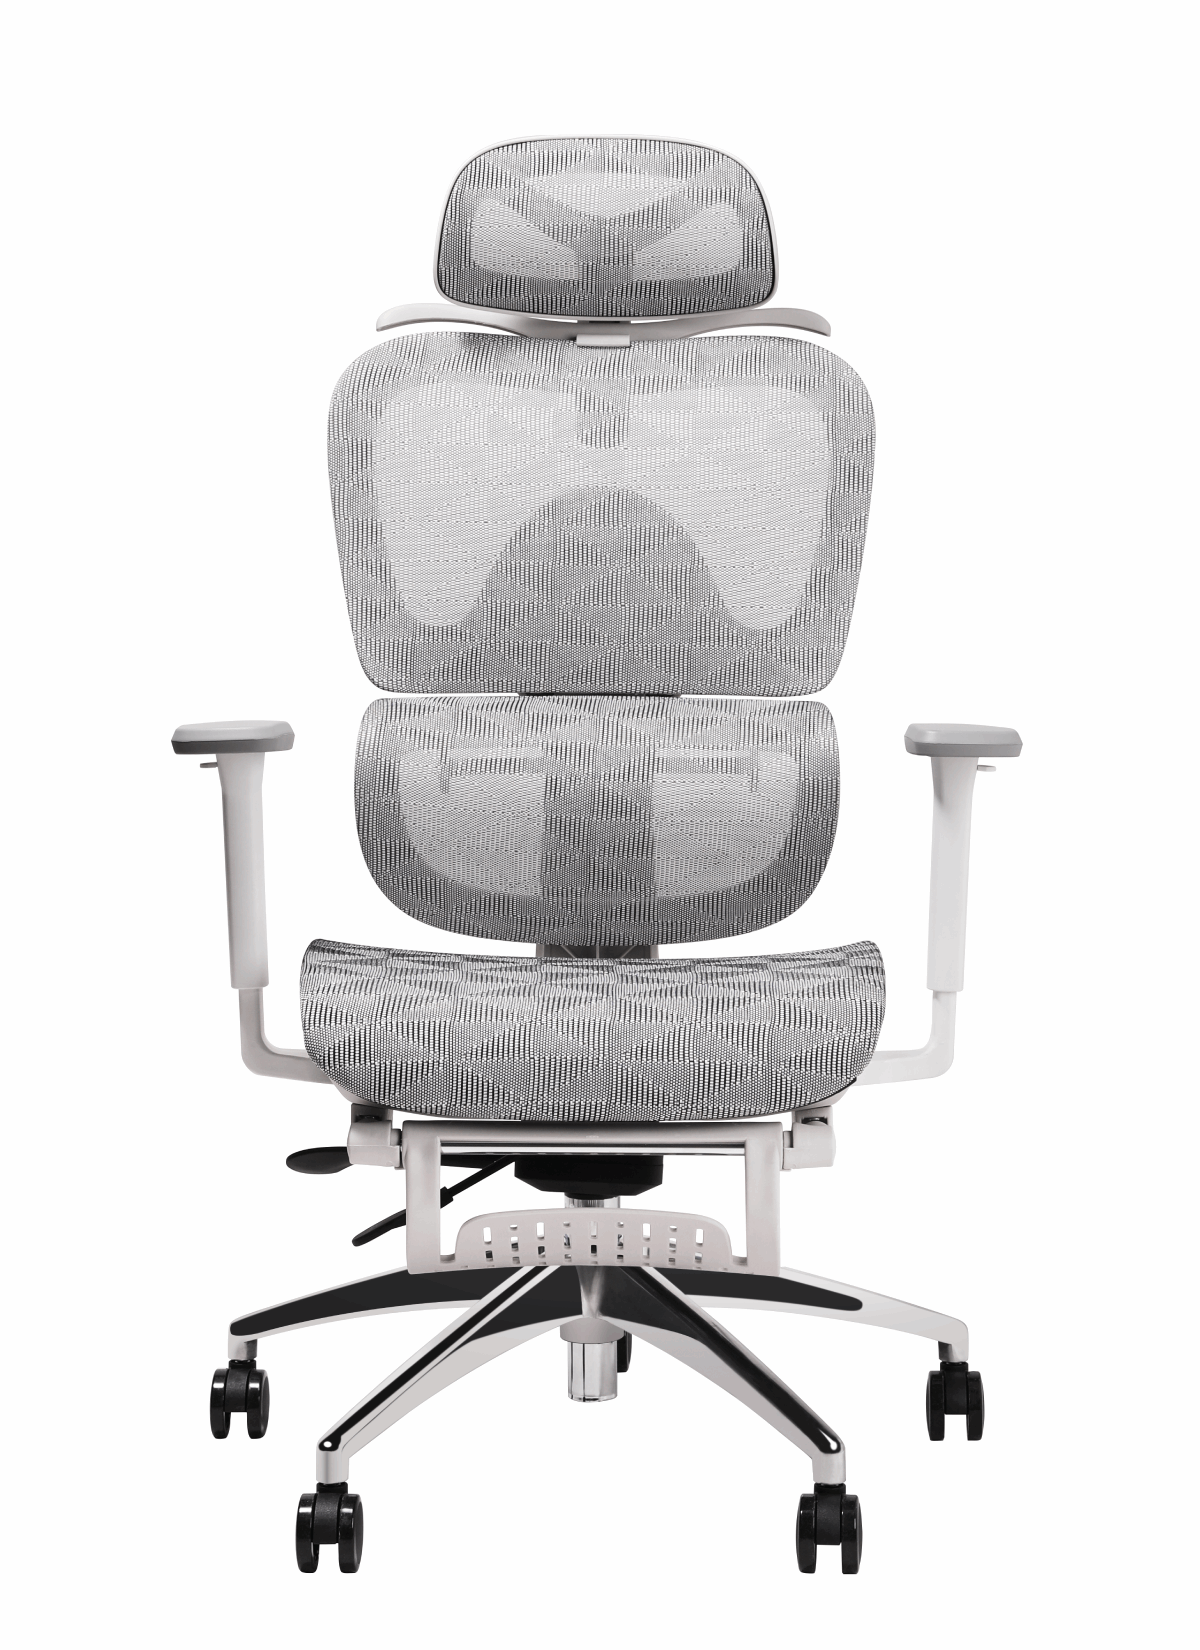
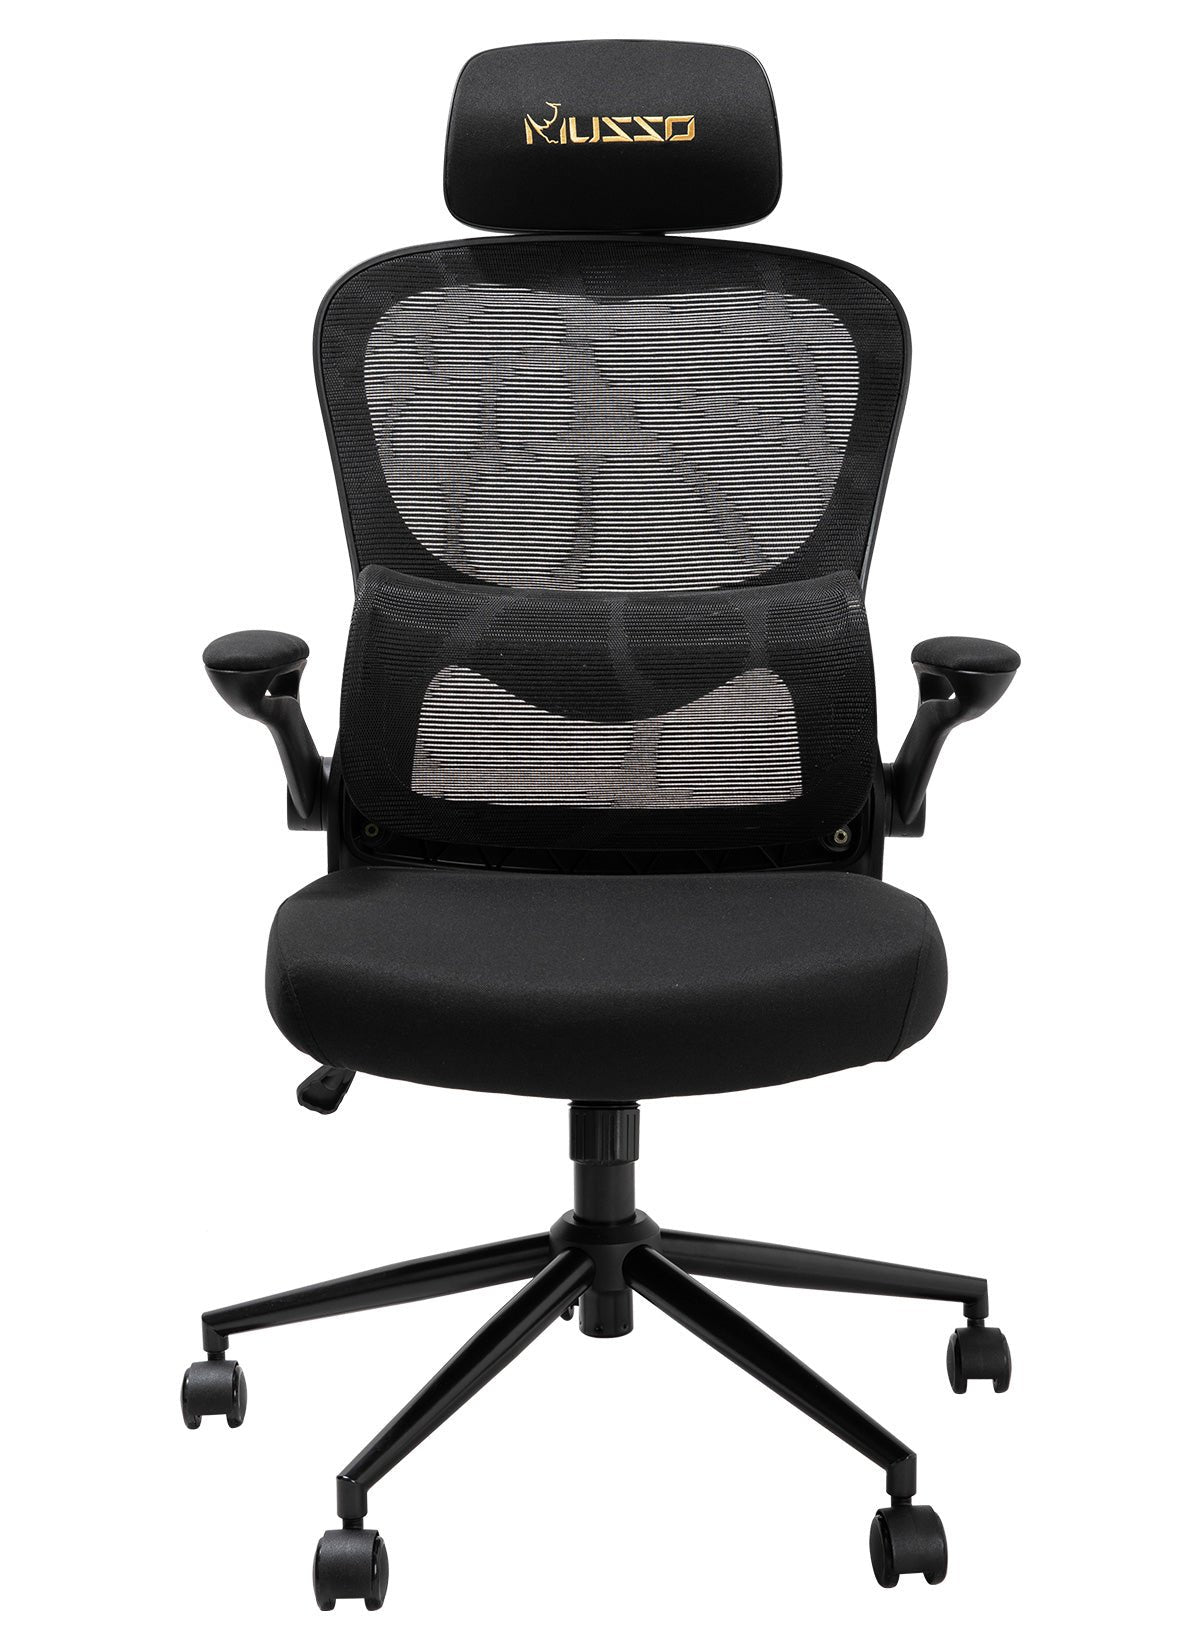
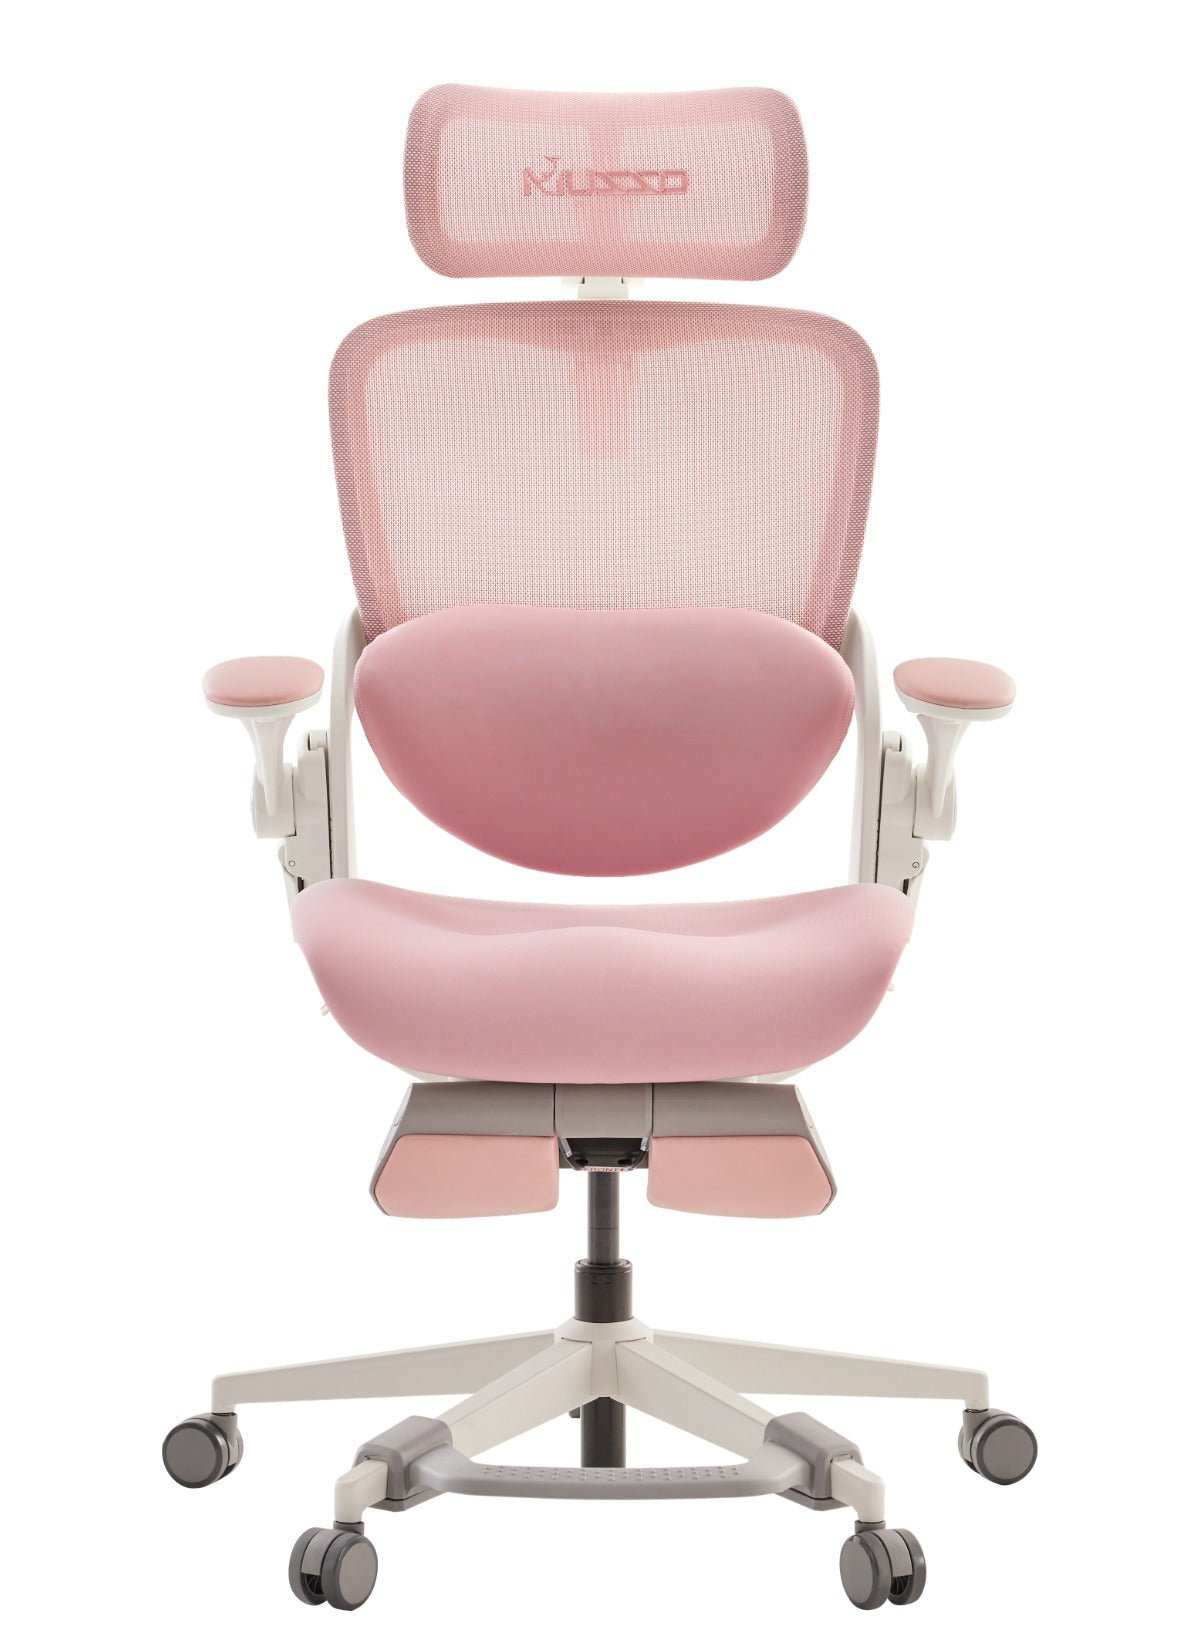
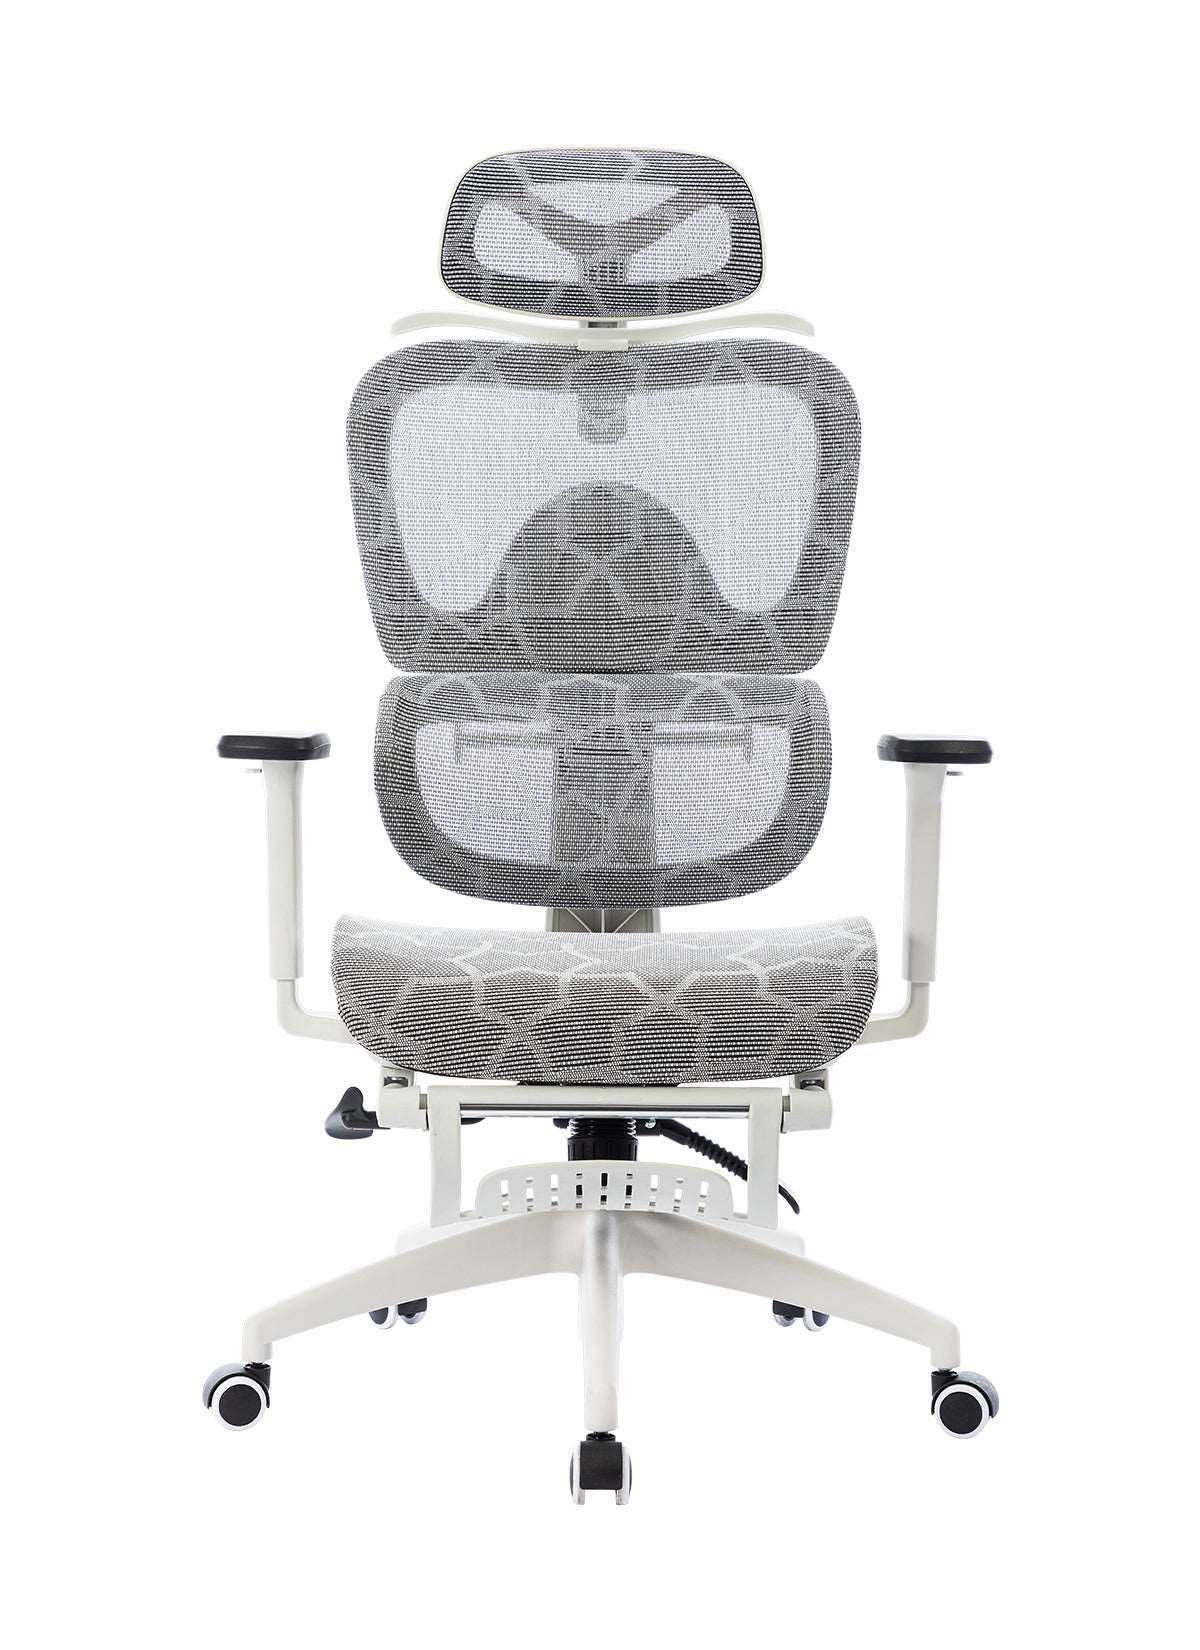
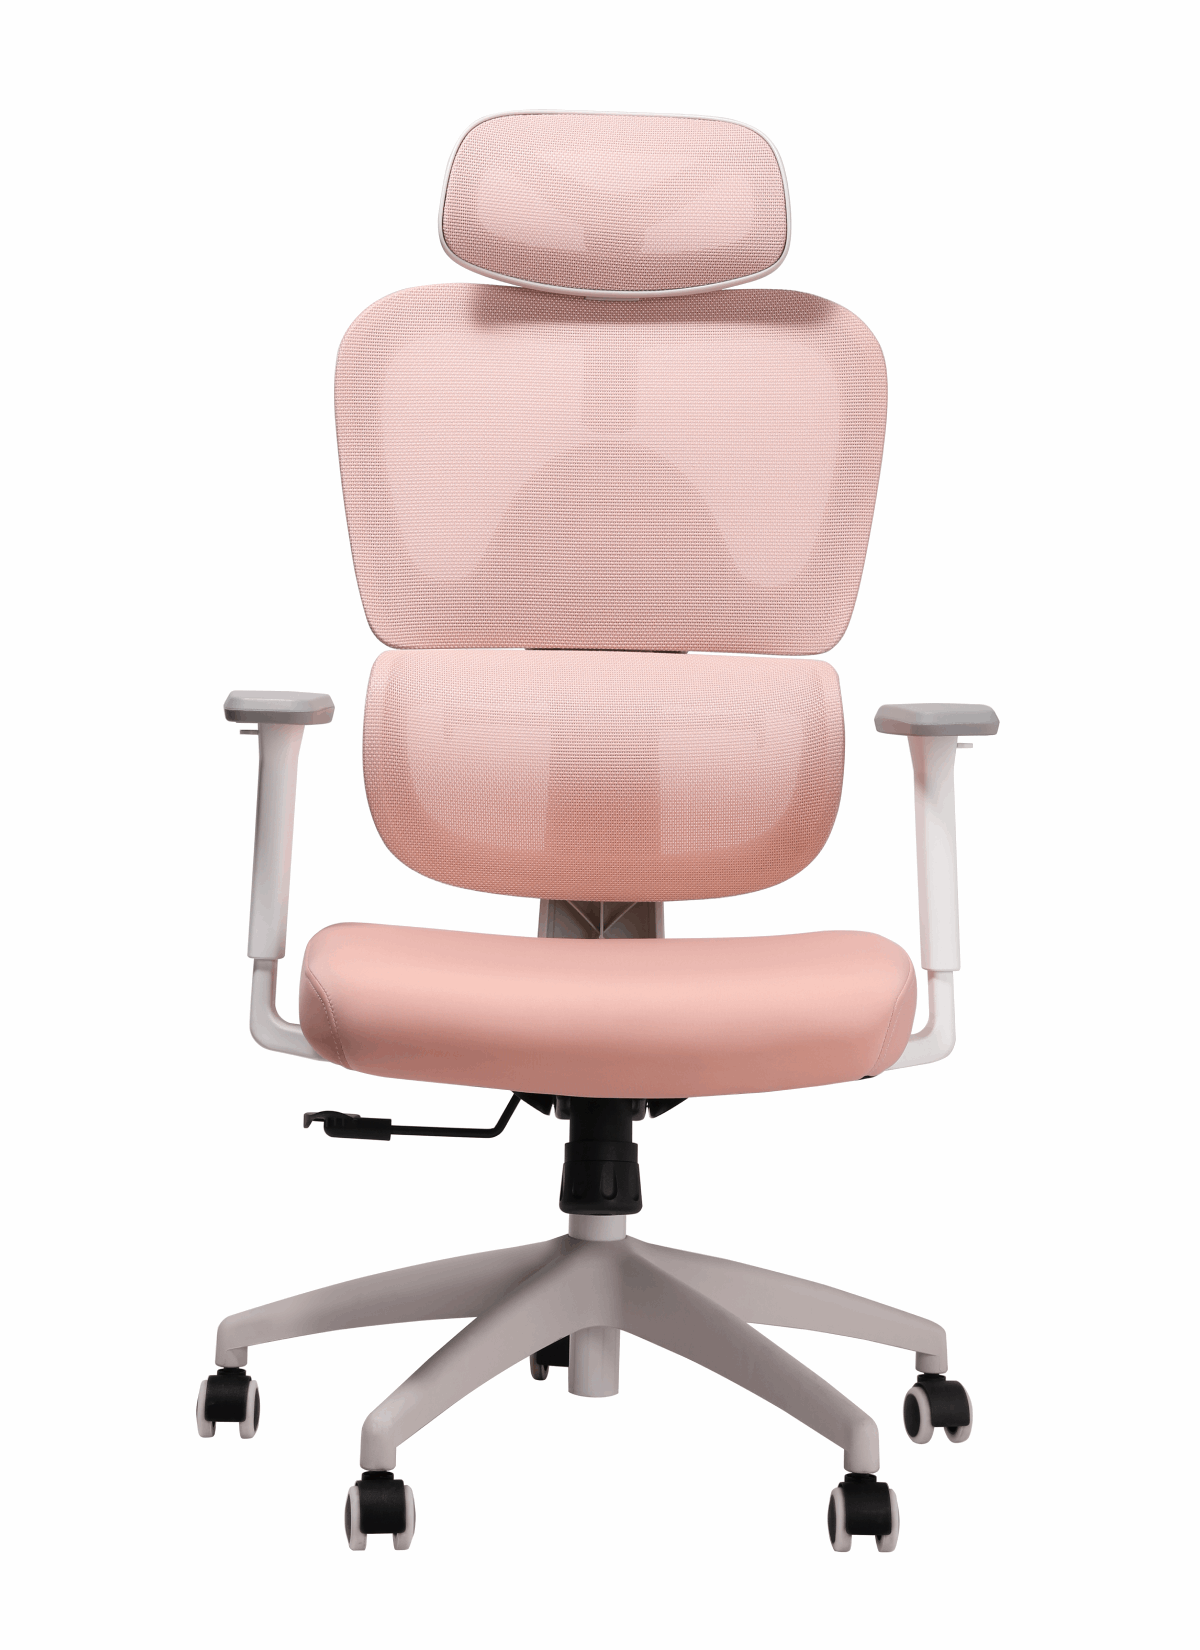
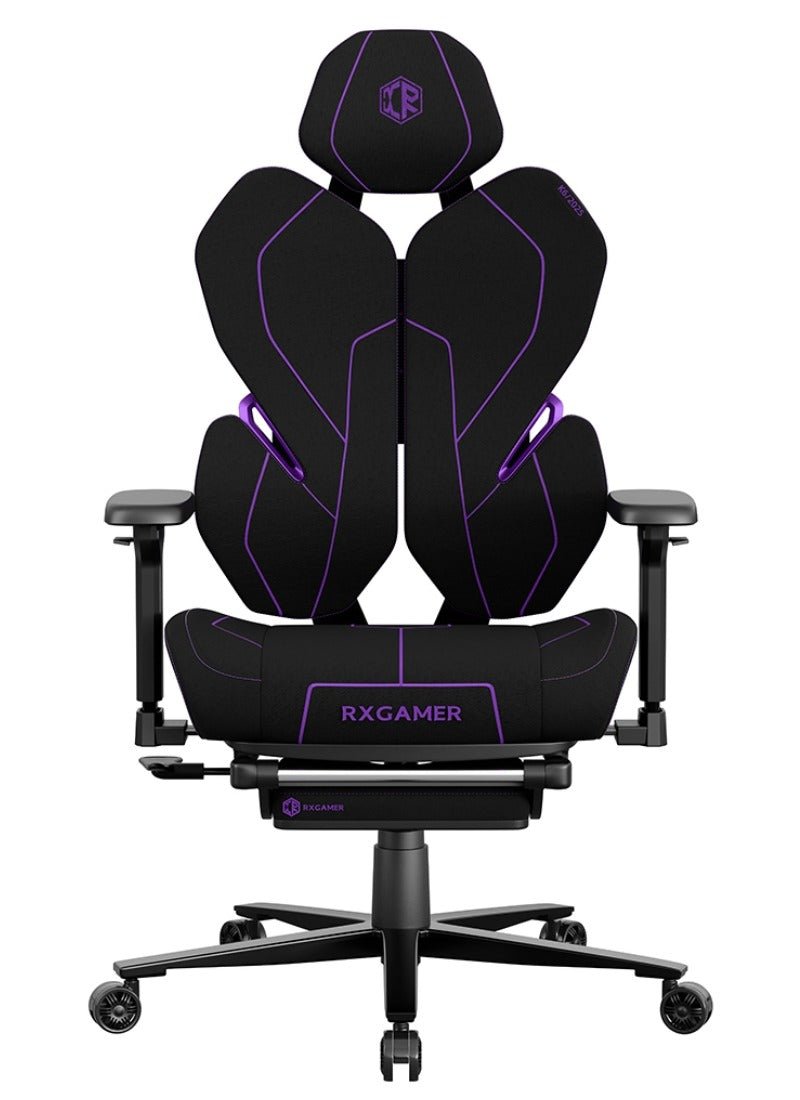
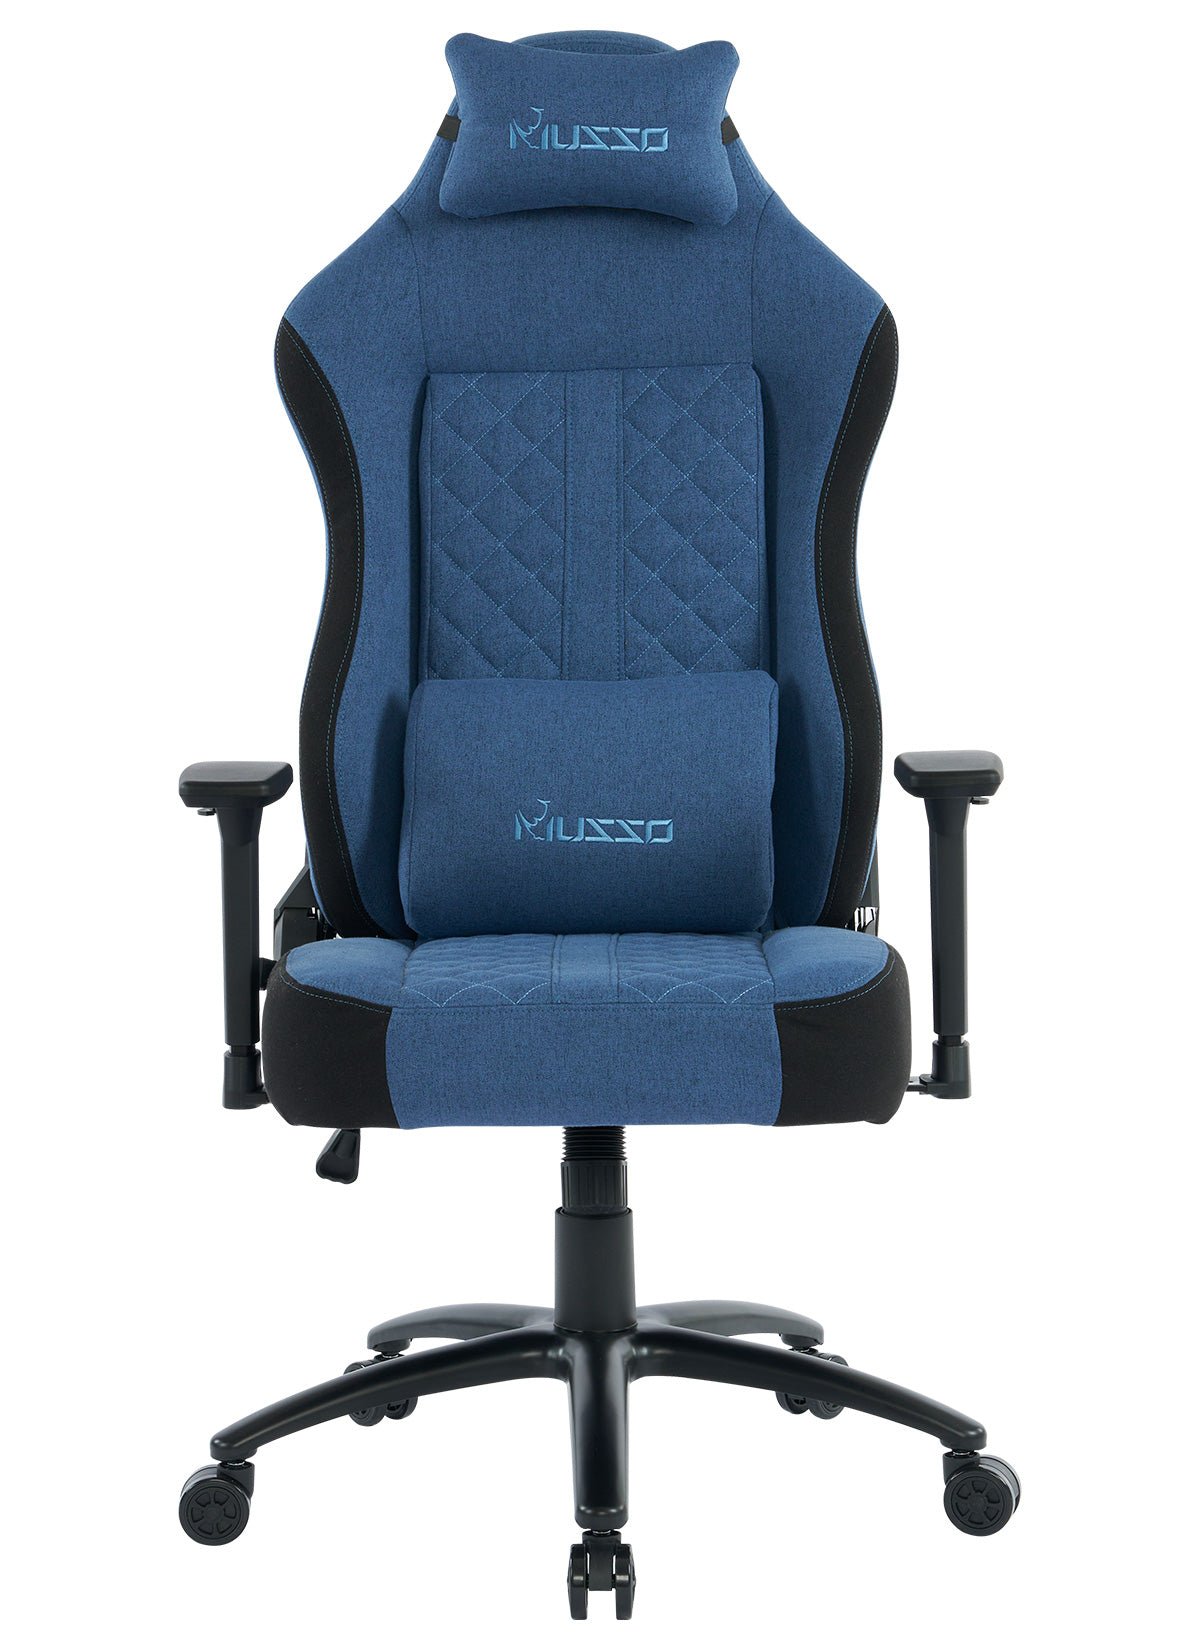
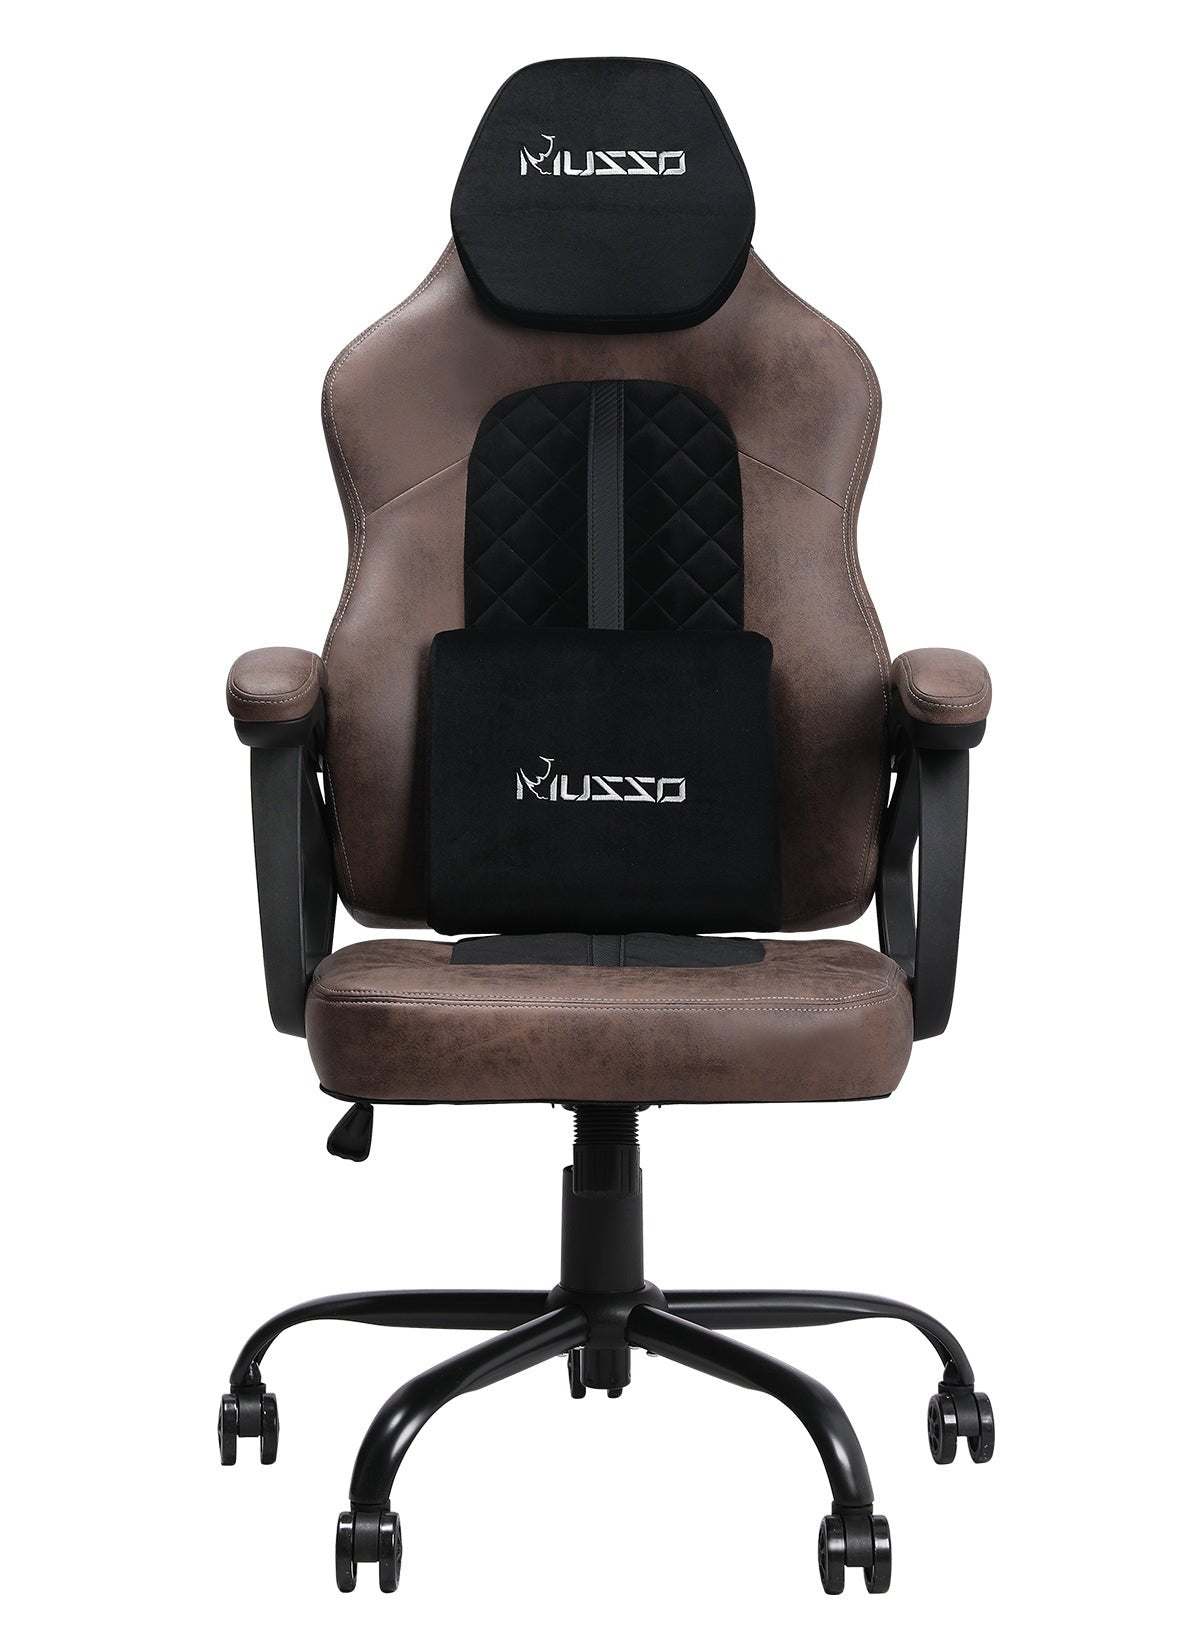
In the world of esports, where comfort and performance go hand in hand, gaming chairs have become an essential piece of equipment for every dedicated gamer. These chairs are designed to provide optimal support, comfort, and ergonomics during long gaming sessions. However, as with any piece of furniture, there may come a time when you need to disassemble and maintain your gaming chair. In this comprehensive guide, we will walk you through the step-by-step process of taking apart a gaming chair, highlighting key maintenance tips along the way. So, grab your tools and let's get started!
Understanding the Importance of Disassembling and Maintaining Your Gaming Chair
Prolonging the Lifespan of Your Gaming ChairA well-maintained gaming chair can last for several years, but neglecting its maintenance can significantly shorten its lifespan. Regular disassembly and cleaning help remove dirt, dust, and debris that can accumulate over time, preventing premature wear and tear. By disassembling and maintaining your gaming chair, you can ensure its durability and extend its lifespan.
Ensuring Optimal Performance and Comfort
As a dedicated gamer, you spend countless hours in your gaming chair, and its performance and comfort are of utmost importance. Over time, loose screws, worn-out padding, or damaged components can negatively impact your gaming experience. Disassembling and maintaining your gaming chair allows you to identify and fix these issues, ensuring optimal performance and comfort.
Identifying and Fixing Common Issues
Disassembling your gaming chair gives you a chance to inspect its various components and identify any potential problems. Whether it's a creaking noise, a wobbly base, or a jammed gas lift mechanism, understanding the chair's structure and disassembling it will enable you to troubleshoot and fix these common issues effectively.
Tools You Will Need for Disassembling Your Gaming Chair
Essential Tools
Before diving into the disassembly process, it's crucial to gather the necessary tools. These include:
Screwdriver (Phillips and flathead)
Allen wrench or hex key set
Pliers
Hammer (optional)
Lubricating oil or silicone spray
Cleaning supplies (mild detergent, microfiber cloth, etc.)
Optional Tools for Advanced Maintenance
If you want to go the extra mile in maintaining your gaming chair, consider adding these optional tools to your arsenal:
Upholstery cleaner (appropriate for your chair material)
Vacuum cleaner with brush attachment
Compressed air canister
Leather conditioner (for leather chairs)
Upholstery repair kit (for minor tears or damage)
Replacement parts (screws, casters, gas lift, etc.)
Preparing for Disassembly: Safety First!
Choosing the Right LocationSelect a spacious and well-lit area for your disassembly process. A clear workspace will prevent accidents and make it easier to organize the chair components as you go. Ensure you have enough room to lay out the chair parts without causing damage or tripping hazards.
Protecting Yourself and the Chair
Wearing protective gloves and safety goggles is recommended to safeguard your hands and eyes during disassembly. Additionally, use soft blankets or towels to protect the chair's surfaces from scratches or damage while working.
Step-by-Step Guide: How to Disassemble Your Gaming Chair
Removing the Base and WheelsStart by flipping your chair upside down, ensuring stability. Locate the connection between the chair's base and the gas lift mechanism. Most gaming chairs use a tension ring or clip that holds these two components together. Use pliers to remove the ring or clip, allowing the base to separate from the gas lift mechanism. Once detached, set the base aside.
Next, remove the caster wheels by pulling them firmly or using a screwdriver to pry them off, depending on the type of attachment mechanism. Repeat this step for all wheels.
Detaching the Seat and Backrest
Locate the screws or bolts securing the seat and backrest to the chair's frame. Use the appropriate screwdriver or Allen wrench to remove these fasteners. Keep track of the screws, and consider organizing them in a labeled container or using a magnetic parts tray. Once all the screws are removed, gently lift off the seat and backrest from the frame.
Taking Apart the Armrests
If your gaming chair has detachable armrests, locate the attachment points where they connect to the chair's frame. Depending on the model, you may find screws, bolts, or clips holding the armrests in place. Use the appropriate tools to remove these fasteners, and carefully detach the armrests from the chair's frame.
Disassembling the Gas Lift Mechanism
The gas lift mechanism allows you to adjust the chair's height. To disassemble it, first, locate the retaining clip or ring that holds the gas lift in place. Use pliers to remove the clip or ring carefully. Once removed, slowly pull the gas lift mechanism out of the chair's frame.
Separating the Upholstery and Padding
If you need to clean or repair the upholstery or padding, check for any additional screws, clips, or Velcro attachments that hold them in place. Carefully remove these fasteners, allowing you to separate the upholstery and padding from the chair's frame.
Cleaning and Maintaining Your Gaming Chair
Cleaning Different Chair Materials (Leather, Fabric, Mesh, etc.)Each chair material requires specific cleaning methods to ensure their longevity and appearance:
Leather: Use a leather cleaner and conditioner to remove dirt and preserve the material's suppleness. Avoid harsh chemicals or abrasive tools that could damage the leather.
Fabric: Vacuum the fabric to remove loose dirt and debris. For stains, use a mild detergent mixed with water and a soft brush or cloth to gently scrub the affected area. Let the fabric air dry completely.
Mesh: Wipe the mesh with a microfiber cloth to remove dust and dirt. For deeper cleaning, use a mild soap and water solution, gently scrubbing the mesh. Allow it to air dry before reassembly.
Note: Always refer to the manufacturer's instructions for specific cleaning recommendations based on your chair's material.
Lubricating Moving Parts
To ensure smooth movement and prevent squeaking, lubricate the chair's moving parts, such as the gas lift mechanism and wheel bearings. Apply a small amount of lubricating oil or silicone spray to these areas, following the product's instructions.
Replacing Damaged Components
During the cleaning and maintenance process, you may come across components that are damaged beyond repair. If possible, contact the chair manufacturer to inquire about replacement parts. Many manufacturers provide online support or have dedicated customer service representatives who can assist you in obtaining the necessary components.
Reassembling Your Gaming Chair
Reattaching the Upholstery and PaddingBegin by aligning the upholstery and padding with the chair's frame. Carefully secure them using the appropriate fasteners (screws, clips, Velcro, etc.) removed during disassembly. Ensure a snug fit without over-tightening the fasteners, as this may damage the upholstery or compromise comfort.
Assembling the Gas Lift Mechanism
Insert the gas lift mechanism back into the chair's frame, ensuring it slides in smoothly. Reattach the retaining clip or ring to secure the gas lift mechanism in place. Test the height adjustment feature to ensure proper functionality.
Attaching the Armrests
Line up the armrests with the attachment points on the chair's frame. Use the appropriate screws, bolts, or clips to fasten them securely. Ensure the armrests are level and aligned correctly before tightening the fasteners.
Installing the Seat and Backrest
Place the seat and backrest onto the chair's frame, aligning the screw holes. Insert and tighten the screws or bolts, ensuring a secure connection. Double-check that the seat and backrest are properly aligned and sit level on the frame.
Reconnecting the Base and Wheels
Finally, reattach the base to the gas lift mechanism by sliding them together. Use pliers to secure the tension ring or clip back into place. Once the base is secure, push the caster wheels firmly onto their respective slots until they click into position.
Troubleshooting Common Issues
Creaking or Squeaking NoisesCreaking or squeaking sounds often occur due to loose screws or insufficient lubrication. Check all the screws and tighten them as needed. Apply lubricating oil or silicone spray to the chair's moving parts, such as the gas lift mechanism and wheel bearings, to eliminate the noise.
Unstable or Wobbly Chair
An unstable or wobbly chair may indicate loose screws or a faulty base. Double-check that all screws and fasteners are securely tightened. If the issue persists, inspect the base for any signs of damage or wear. Consider replacing the base if necessary.
Stuck or Jammed Gas Lift Mechanism
If your gas lift mechanism gets stuck or jams, it may require cleaning and lubrication. Remove the gas lift mechanism and clean it thoroughly, removing any debris or dirt. Apply lubricating oil or silicone spray to the moving parts, and reassemble the mechanism carefully. Test the height adjustment function to ensure it operates smoothly.
Frequently Asked Questions (FAQs)
How often should I disassemble and clean my gaming chair?The frequency of disassembly and cleaning depends on your usage and personal preference. As a general guideline, it is recommended to clean your gaming chair every three to six months. However, if you notice excessive dirt, stains, or unpleasant odors, it may be necessary to clean it more frequently.
Can I wash the upholstery in a washing machine?
It depends on the chair's specific upholstery material. Some removable covers may be machine washable, but others require handwashing or professional cleaning. Always refer to the manufacturer's instructions for proper care and cleaning methods for your chair's upholstery.
What should I do if I can't find replacement parts for my chair?
If you're unable to find replacement parts directly from the manufacturer, consider reaching out to specialized chair repair or upholstery shops. They may have access to compatible parts or be able to provide alternative solutions.
Disassembling and maintaining your gaming chair is an essential practice for every esports enthusiast. By understanding how to disassemble and clean your chair, you can prolong its lifespan, ensure optimal performance and comfort, and troubleshoot common issues. Remember to follow safety precautions, use the appropriate tools, and refer to the manufacturer's instructions for specific guidelines. With regular maintenance, your gaming chair will continue to provide the comfort and support you need for countless hours of immersive gaming.


