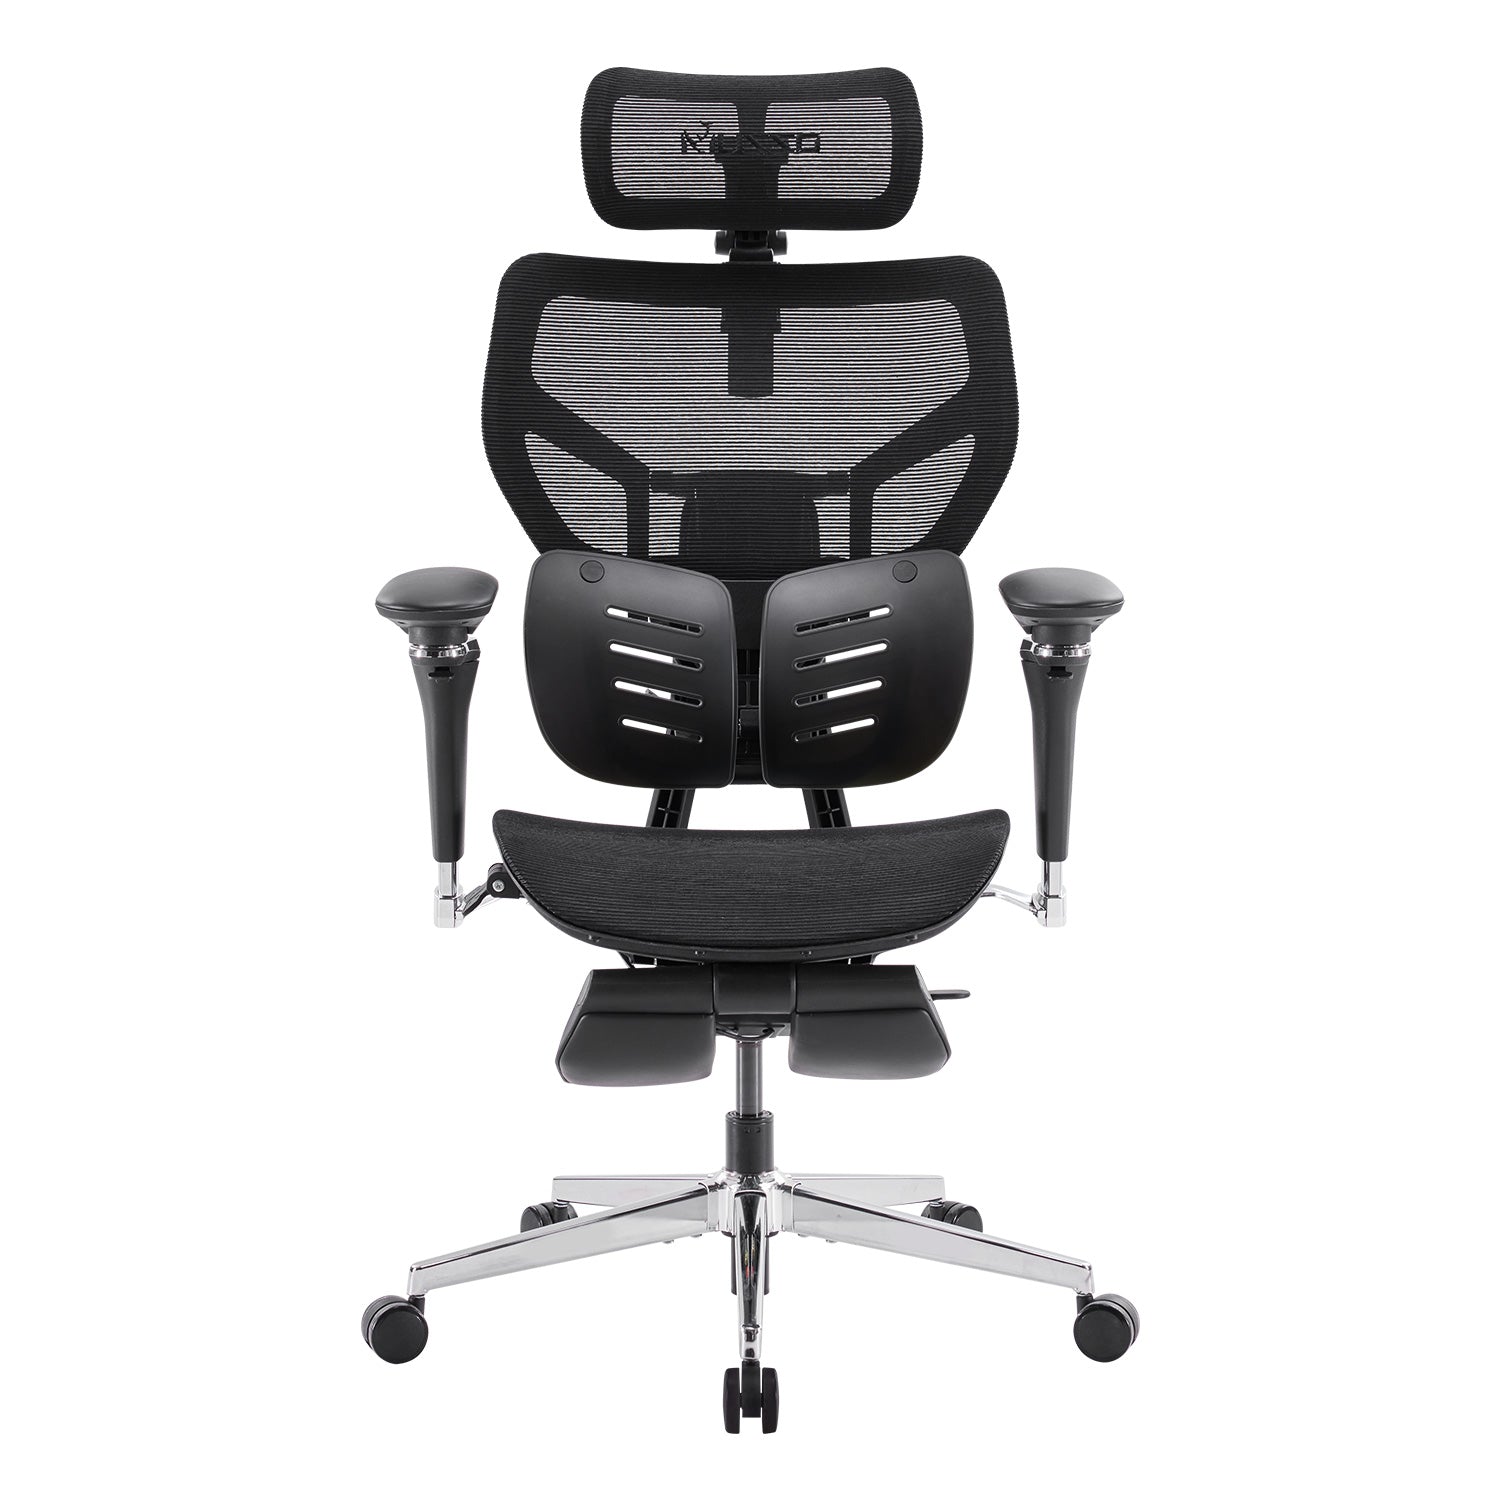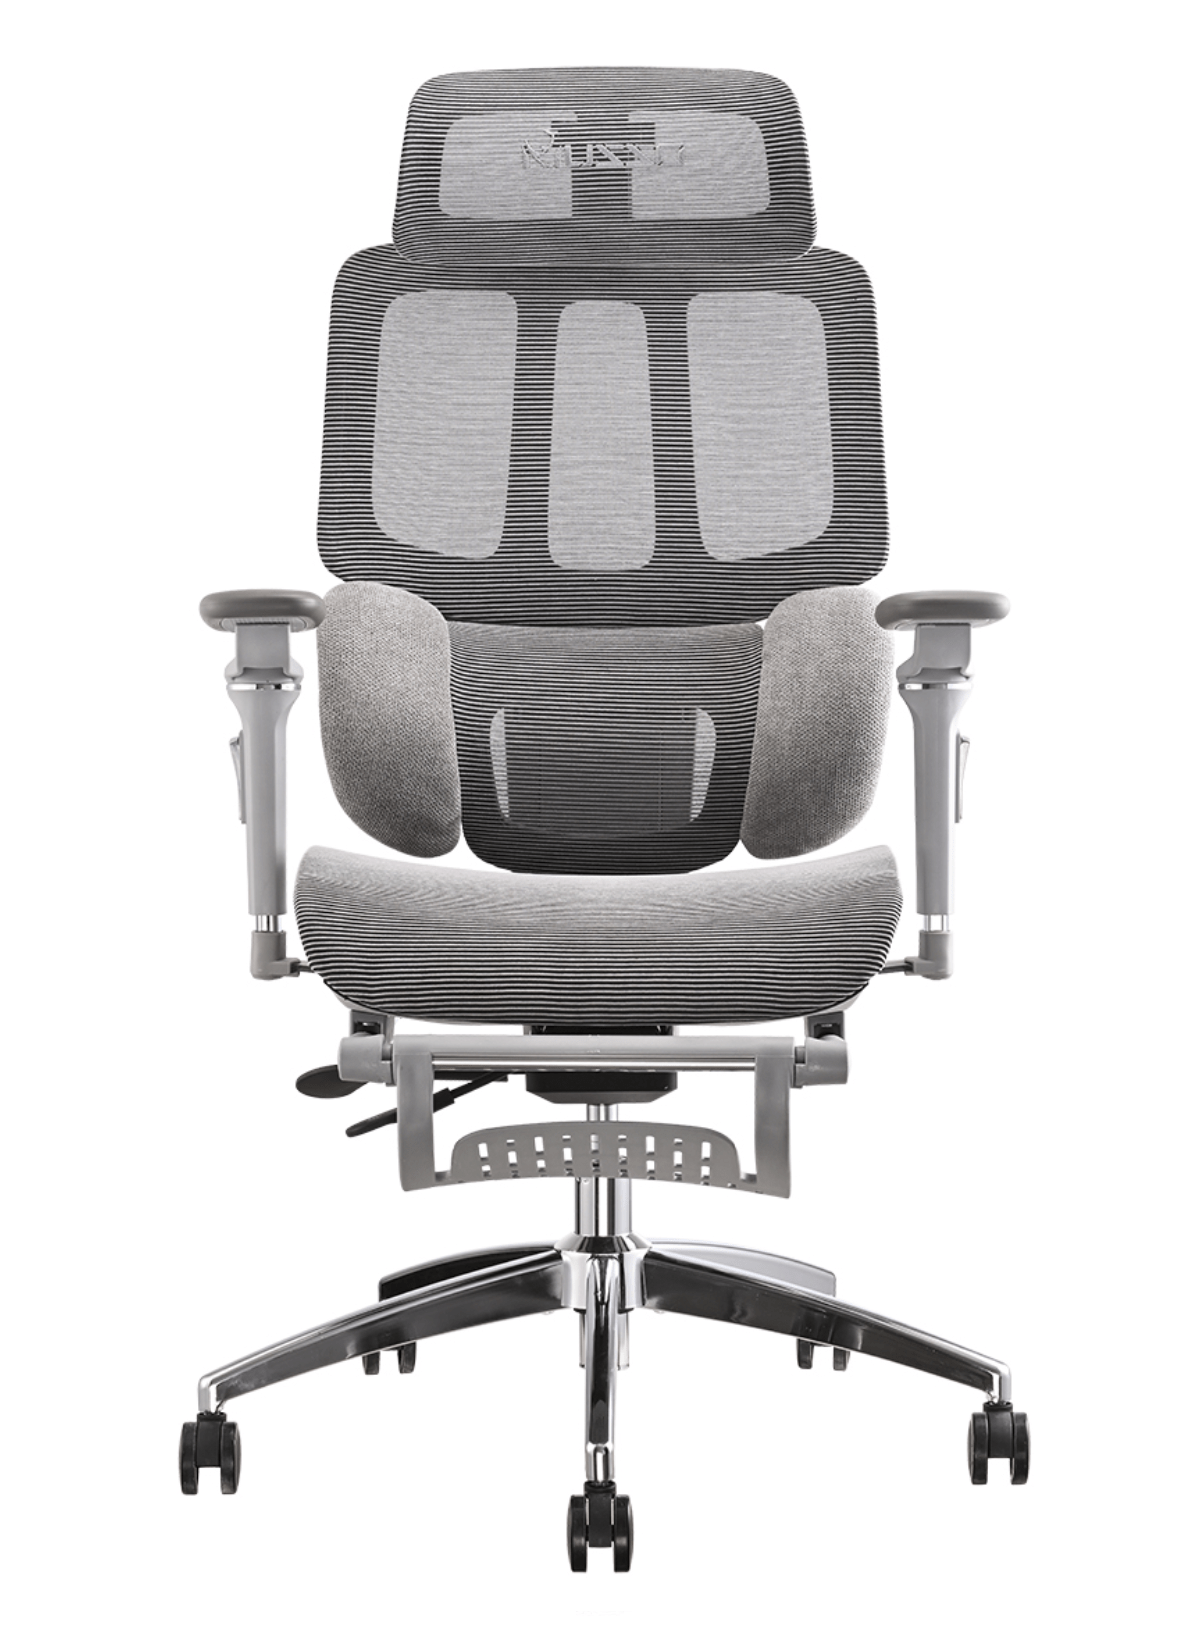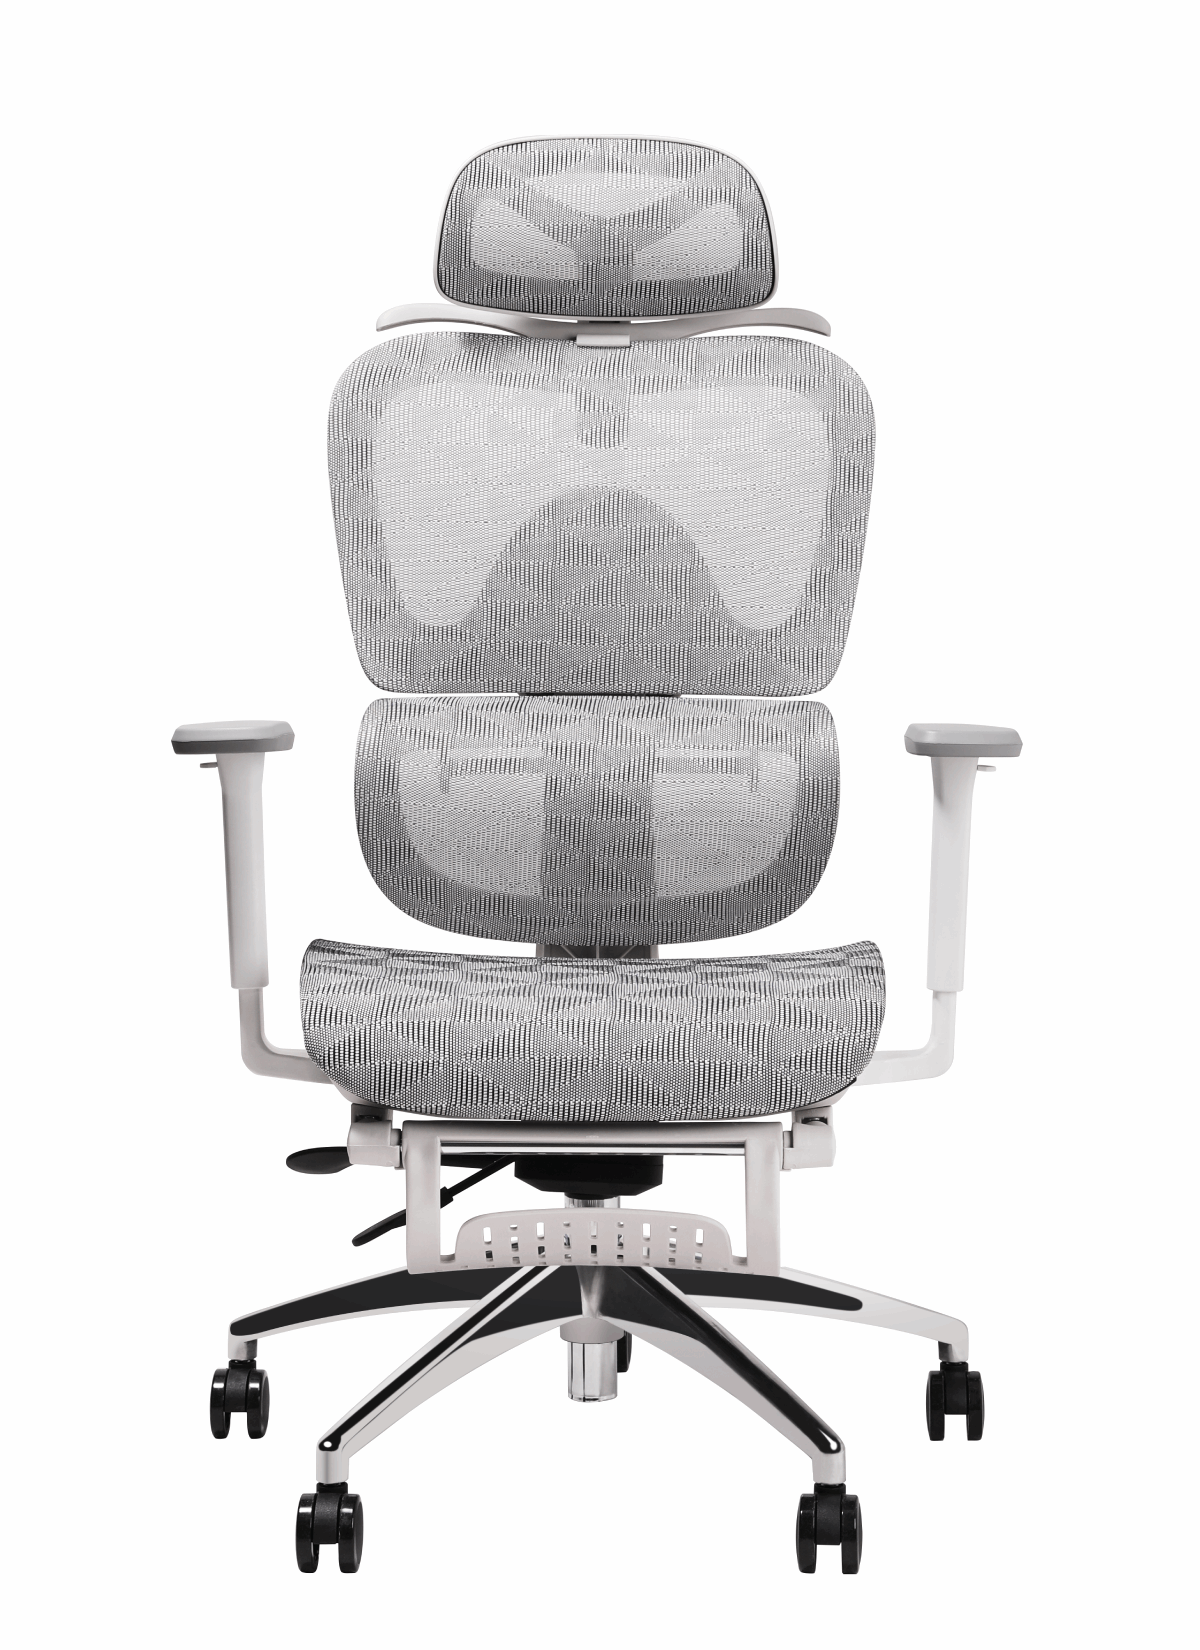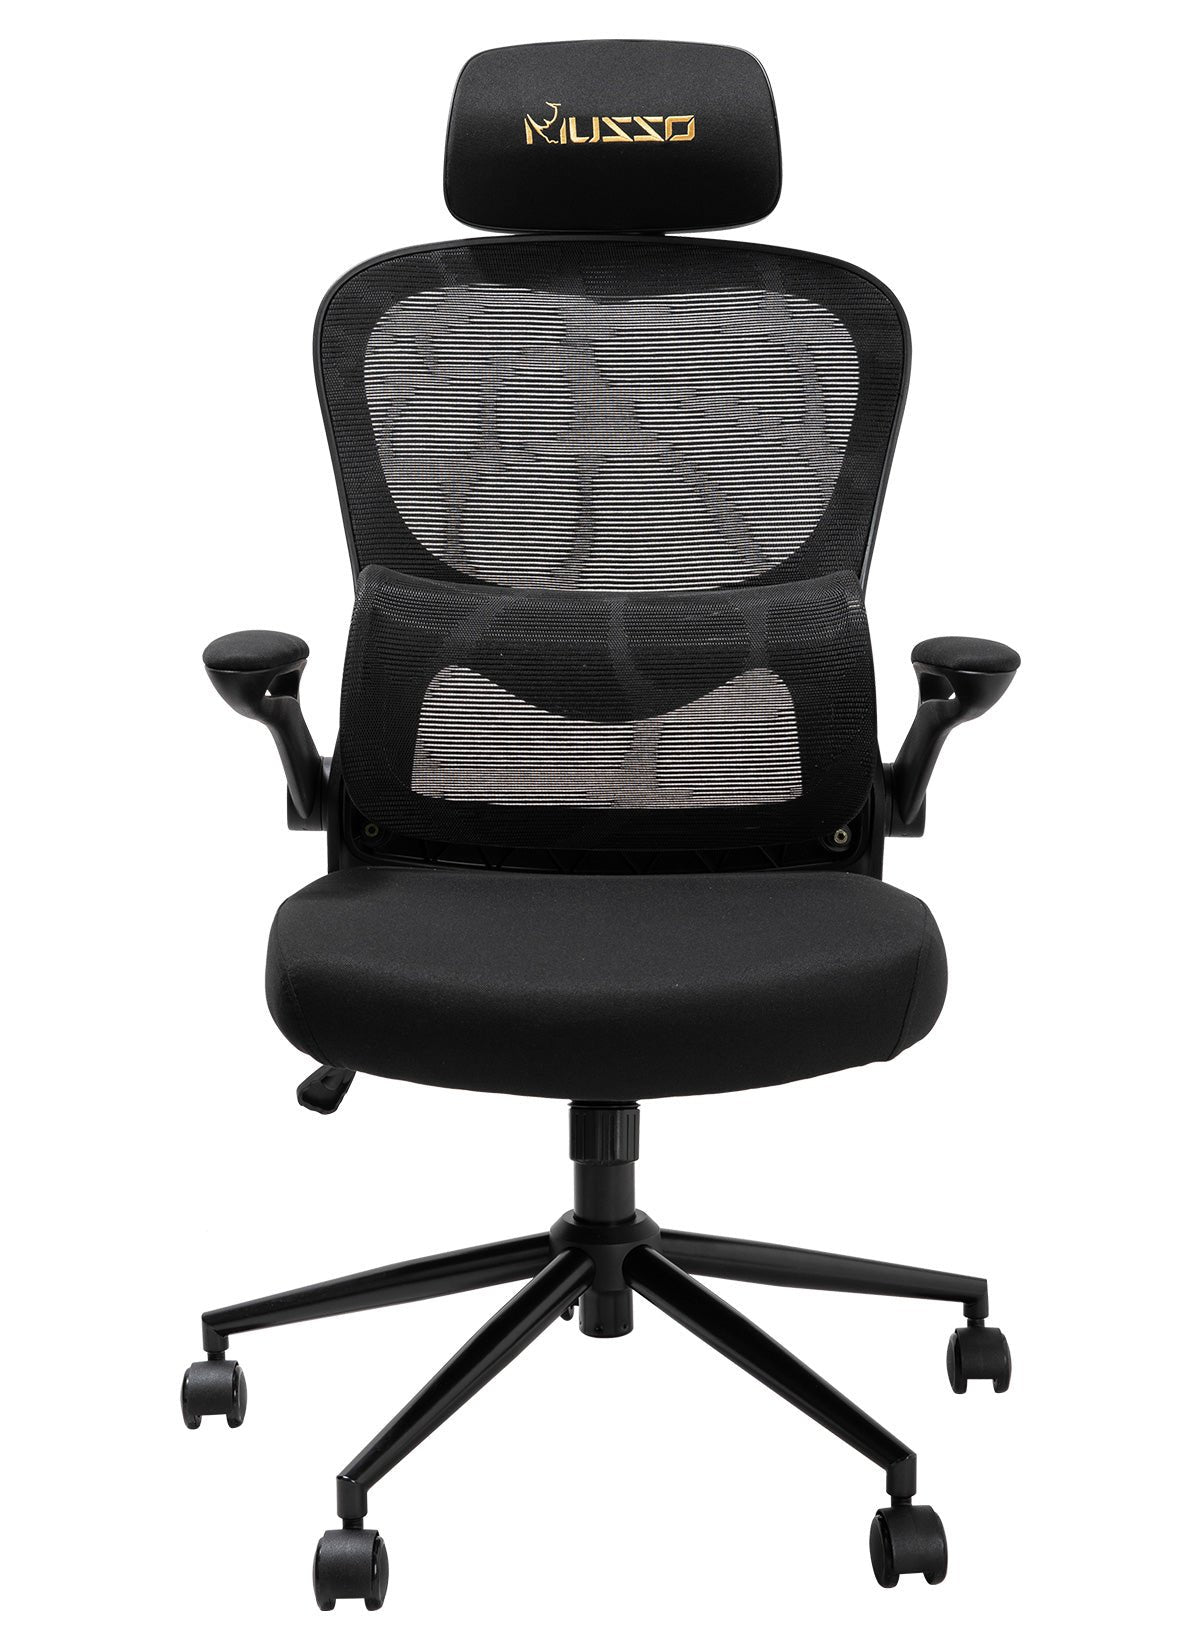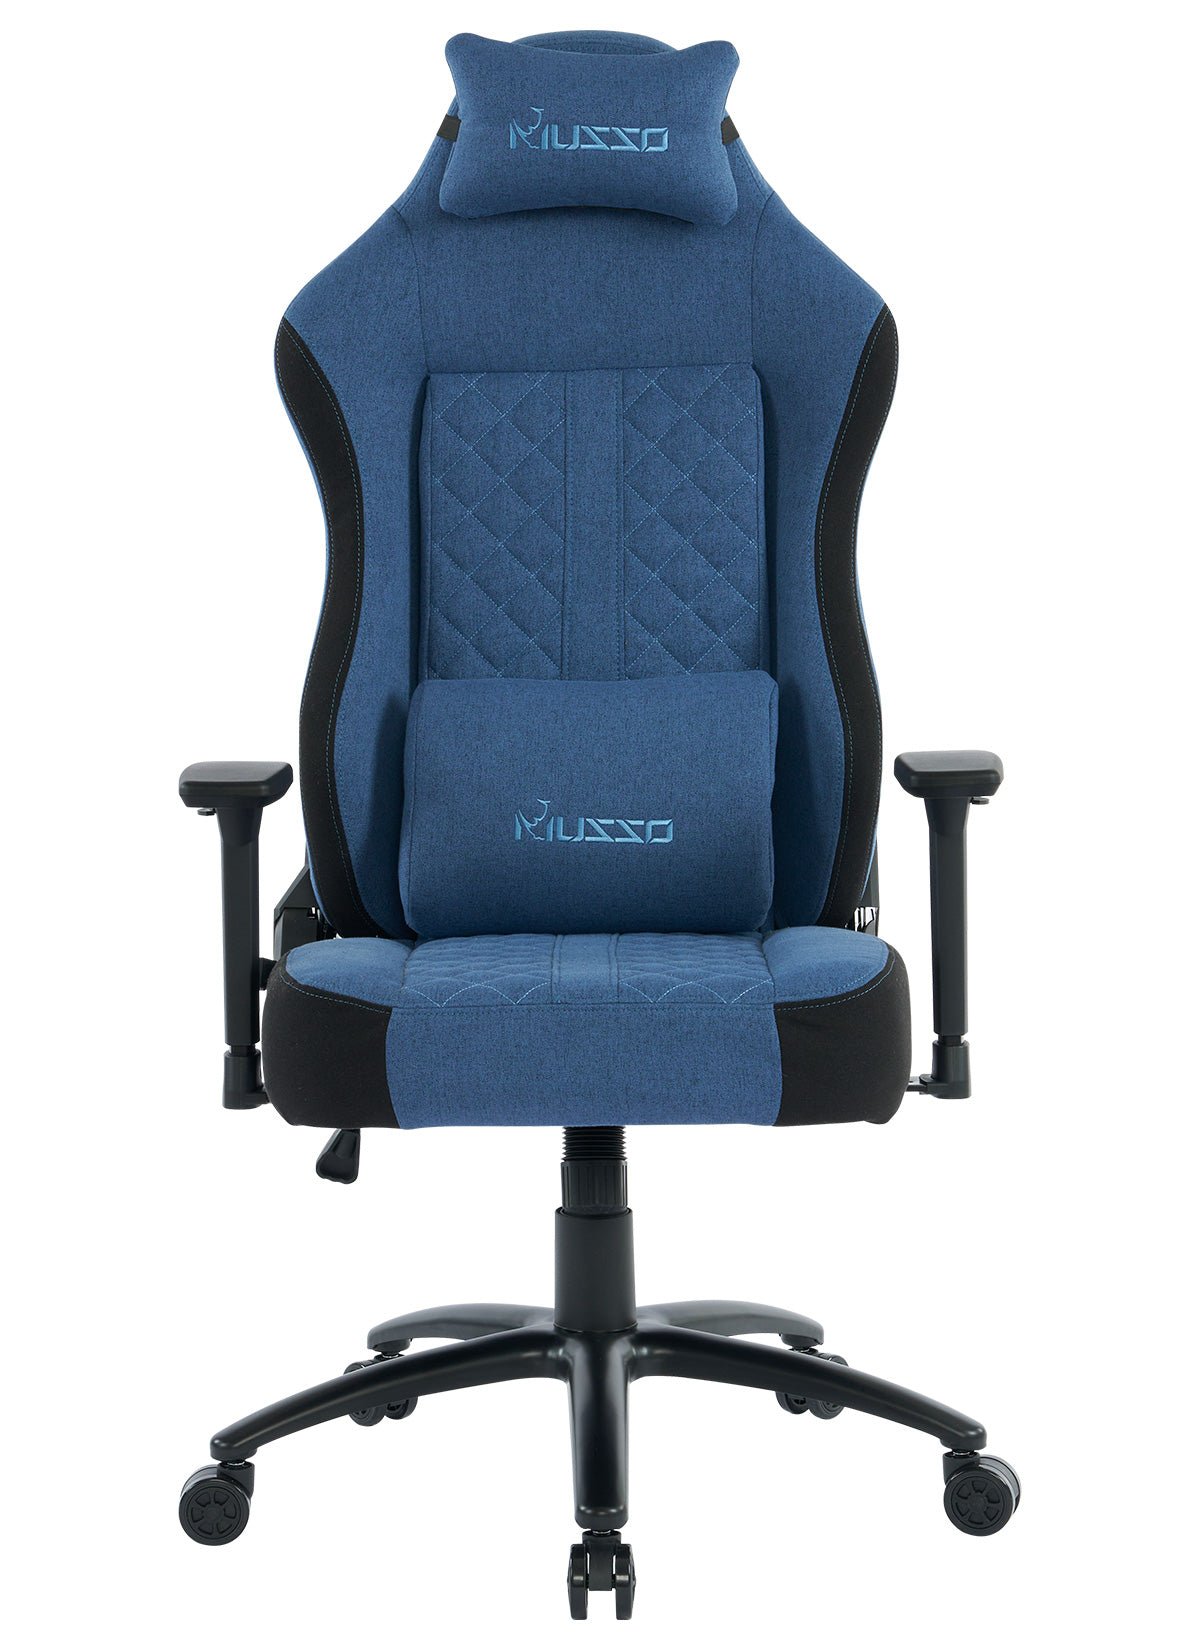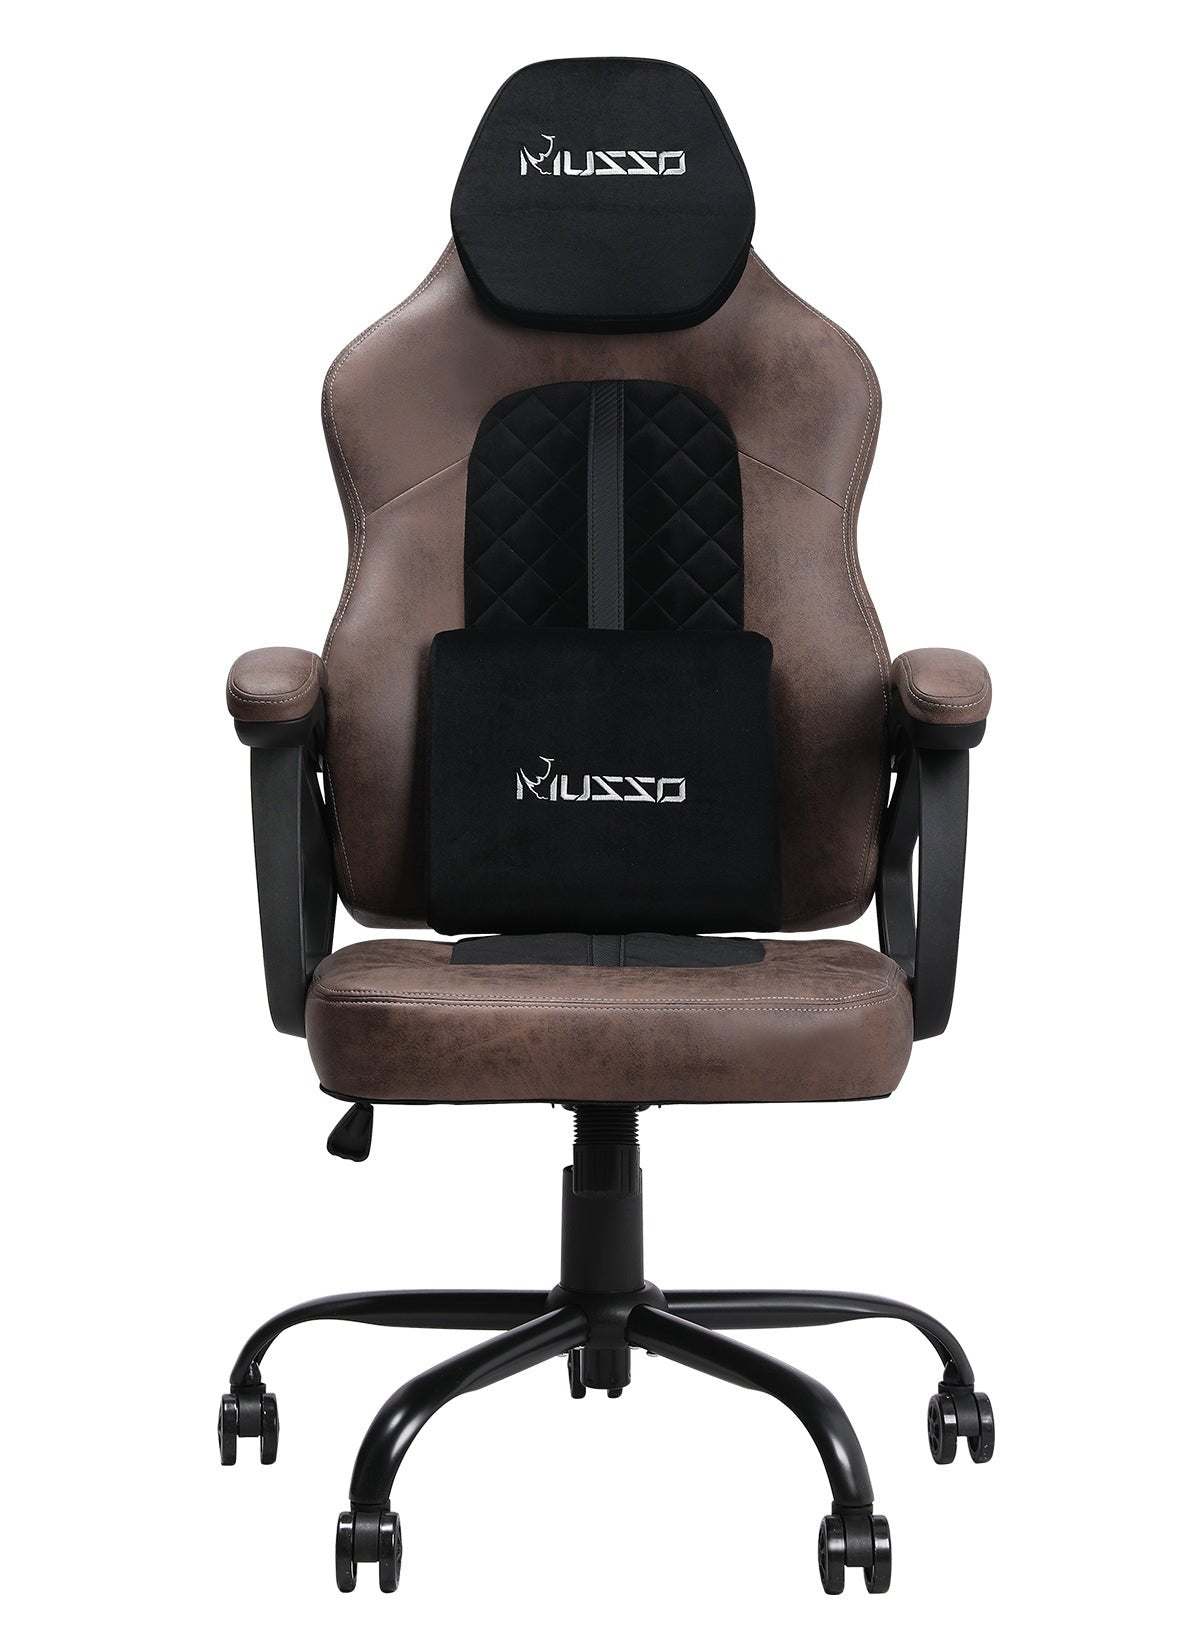
Design and Planning
Before starting the construction process, it's important to assess your needs and requirements for your gaming chair. Consider factors such as your body type, preferred gaming posture, space availability, and any specific features you desire.Ergonomics plays a crucial role in the comfort and health aspects of a gaming chair. Research ergonomic principles related to seating, including proper lumbar support, adjustable height, and reclining capabilities. Ensure your design incorporates these essential ergonomic features.
Using graph paper or computer-aided design (CAD) software, create detailed sketches of your gaming chair design. Consider the chair's dimensions, angles, curves, and how different components will fit together. Make adjustments until you are satisfied with the design.
Research suitable materials for the frame, seat, and backrest. Common choices include wood, metal, and composite materials. Select materials that are sturdy, durable, and can support your weight comfortably. Additionally, gather the necessary tools such as saws, drills, screws, and upholstery supplies.
Building the Frame
Select a material for the frame that meets your desired aesthetics, strength, and durability. Consider factors like weight capacity, availability, and your proficiency in working with the chosen material. Ensure you have enough material to build the frame components.Using the measurements from your design, cut the frame components according to the desired dimensions. Use appropriate tools and techniques to shape and smooth the edges of the components for a professional finish.
Follow your design and assembly plan to put together the frame components. Use screws, brackets, or other suitable fasteners to secure the pieces firmly. Double-check the alignment and stability of the frame, making any necessary adjustments.
To enhance the structural integrity of the frame, consider adding reinforcement elements like corner braces or additional support beams. Sand the frame to remove any rough edges or imperfections. Apply a suitable finish, such as paint or varnish, to protect the frame and achieve the desired aesthetic appearance.

Creating the Seat and Backrest
Choose padding materials that provide comfort and support. Common options include foam, memory foam, or high-density padding. Select upholstery fabric that is durable, breathable, and visually appealing. Consider factors like maintenance requirements and color coordination with your gaming setup.Using your frame as a guide, build the seat structure by attaching appropriate support beams and braces. Ensure the seat structure is sturdy and can withstand your weight. Consider incorporating a suspension system or springs for added comfort and support.
Cut the upholstery fabric to the appropriate size, leaving extra material for stretching and securing. Attach the fabric to the seat and backrest using staples, adhesive, or a combination of both. Pull the fabric taut to prevent wrinkles or sagging. Trim any excess fabric for a neat finish.
If desired, construct armrests using materials that match the overall design. Attach them securely to the frame, ensuring they are at a comfortable height and angle. Similarly, create a headrest by shaping and padding a piece of material to provide neck and head support.
Adding Adjustability and Ergonomic Features
To make your gaming chair height-adjustable, consider using a gas lift mechanism. Measure and cut a hole in the seat frame to accommodate the gas lift. Attach the gas lift to the seat frame and test its functionality. Ensure it allows for smooth height adjustments and securely locks into place.For a reclining feature, design and construct a mechanism that allows the backrest to recline at different angles. This can be achieved using hinges or a multi-position reclining mechanism. Test the mechanism for smooth operation and stability. Consider adding a locking mechanism to secure the desired recline position.
If you want adjustable armrests, use mechanisms like sliding brackets or swivel mechanisms. Attach these mechanisms to the armrests and the seat frame. Test their adjustability and ensure they lock securely into different positions. Consider adding padding or covers to enhance armrest comfort.
Incorporate ergonomic features like lumbar and neck support by adding cushions or adjustable pillows. Design and attach adjustable lumbar support to the backrest, ensuring it can be positioned to fit your lower back comfortably. Similarly, create a removable or adjustable headrest that provides proper neck support during gaming sessions.
Enhancing Comfort and Aesthetics
Consider adding additional cushions or padding for enhanced comfort. This could include seat cushions, lumbar pillows, or even memory foam inserts. Choose materials that offer adequate support and adjustability to suit your preferences.If desired, integrate cooling or heating elements into your gaming chair. This could involve incorporating fans, ventilation systems, or heating pads. Ensure proper wiring and connections, and prioritize safety when working with electrical components.
To maintain a tidy gaming setup, incorporate cable management features into your chair design. This could include built-in cable channels, clips, or pockets to keep wires organized and prevent tangling. Consider accessibility and ease of cable routing during the construction process.
Give your gaming chair a personal touch by customizing its aesthetics. Consider options such as painting or staining the frame, using fabric with a unique pattern or color scheme, or adding decorative elements like embroidery or logos. Take your time to ensure a clean and professional finish.

Finishing and Assembly
Before applying any finish, thoroughly sand all wooden surfaces of the chair. Start with coarse-grit sandpaper and gradually move to finer grits to achieve a smooth finish. Pay attention to corners, edges, and curves. Use a sanding block or power sander for consistent results.Choose a suitable paint or stain based on your aesthetic preferences and the type of material used for the frame. Apply thin and even coats, allowing each coat to dry before applying the next. Consider using a primer for better adhesion and durability. Follow the manufacturer's instructions for proper application and drying times.
Once the paint or stain has dried, reassemble all the chair components. Ensure that all fasteners are tightened securely and that all adjustable mechanisms function properly. Perform thorough quality checks to identify any loose connections, weak spots, or areas that require additional reinforcement.
Troubleshooting and Maintenance
Be aware of potential issues that may arise with your homemade gaming chair, such as creaking, wobbling, or discomfort. Troubleshoot and address these issues by reinforcing weak points, adjusting mechanisms, or adding additional padding or support.Establish a regular cleaning and maintenance routine to keep your gaming chair in optimal condition. Vacuum or brush off dust and debris regularly. Follow manufacturer guidelines for cleaning the upholstery fabric. Lubricate adjustable mechanisms as recommended. Check for wear and tear, and make necessary repairs or replacements promptly.
Congratulations! You have completed the comprehensive DIY guide for building your own gaming chair. By following the steps outlined in this guide, you've created a customized gaming chair that suits your needs, preferences, and budget. Enjoy the comfort and satisfaction of gaming in a chair you built with your own hands. Remember to always prioritize safety during construction and consider seeking professional assistance if needed. Happy gaming!


